Oh yes! Everything you ever wanted to know about equipment or ask about equipment, this is the place to be! Share photos or ideas about equipment here.
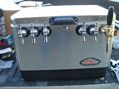
It's been over a year or longer (maybe 2? ) since I've cleaned out and changed the liquid tubing and hardware in my kegerator. I took everything apart and have it all soaking in a PBW bath but I noticed this brown buildup in each of the tail pieces that attach to the shanks... inside the barbed fitting and underneath the black rubber ring that sits between the tail piece and shank.
Is this beer stone? Rust?
Everything is still soaking right now so hopefully it comes off nicely but I was pretty surprised I saw that. I'm hoping it's just caked on yeast or something.
I've decided to start with a Common this weekend to take advantage of the cold weather.
New Brew Club, Free Photo hosting, Yeast Library, Forum
Beerstone's my guess. If you need some BLC (beer line cleaner) I've got some. You may need to take a bristle brush to them as well to get the gunk off.
Good luck on the common! Do you need my recipe?????? (I posted this dec 13 2005 on the BCJP forum)
Here's a recipe I'd made in Feb. '05 when it was cool here in So. Cal., then "lagered" it in my 32 F. beer fridge and kinda forgot about it till November 05.
I entered it in the MASH and HHHBC and took 1st place with a 43 and 38 respectivly.
It's a realllly nice beer.
Hope some of you can use this info.
Calif. Common
A ProMash Recipe Report
BJCP Style and Style Guidelines
-------------------------------
06-C American Pale Ales, California Common Ale
Min OG: 1.044 Max OG: 1.055
Min IBU: 35 Max IBU: 45
Min Clr: 8 Max Clr: 14 Color in SRM, Lovibond
Evaporation Rate: 15.00 Percent Per Hour
Pre-Boil Wort Size: 12.94 Gal
Pre-Boil Gravity: 1.057 SG 13.94 Plato
Formulas Used
-------------
Brewhouse Efficiency and Predicted Gravity based on Method #1, Potential Used.
Final Gravity Calculation Based on Points.
Hard Value of Sucrose applied. Value for recipe: 46.2100 ppppg
% Yield Type used in Gravity Prediction: Fine Grind Dry Basis.
Color Formula Used: Morey
Hop IBU Formula Used: Rager
Grain/Extract/Sugar
% Amount Name Origin Potential SRM
-----------------------------------------------------------------------------
84.6 22.00 lbs. maris otter osheas 1.038 3
7.7 2.00 lbs. Crystal 20L America 1.035 20
3.8 1.00 lbs. Wheat Malt America 1.038 2
3.8 1.00 lbs. Flaked Barley America 1.032 2
Potential represented as SG per pound per gallon.
Hops
Amount Name Form Alpha IBU Boil Time
-----------------------------------------------------------------------------
2.00 oz. Northern Brewer Whole 9.00 33.8 60 min.
0.75 oz. Czech Saaz Whole 3.50 2.5 30 min.
0.75 oz. Tettnanger Tettnang Whole 4.50 1.7 15 min.
0.75 oz. Czech Saaz Whole 3.50 0.8 5 min.
0.50 oz. Centennial Pellet 5.50 Dry
0.80 oz. Cascade Pellet 4.50 Dry
Yeast
-----
White Labs WLP810 San Fransisco Lager
Fermentation temp 64 F. in glass for 10 days
Secondary for 10 days in glass
Teritary in Stainless for the rest in stainless keg.
Awards:
2005 MASH coconut cup: 1st with avg of 43.
2005 St. Louis HHHBC: 1st with avg of 38.
What's left is a gallon in the keg, the great hop nose is still there backed by malt but the bitterness is a bit light. Next time I'll increase the NB and not use the cascade/centennial as dryhop.
Otherwise this is a KILLER beer and has been loved by all whenever I've served it.
Recipe for 10 gallons, brewed on a BrewTree system (since gone out of business) Yeast from a local brewpub in So. Cal.
Cheers,
Lyn
Everybody has the right to be stupid. Some people abuse the privilege.
I hope life isn’t a big joke, because I don’t get it.
What I don't Know Far out weighs what I do.
haha yeah I know. Well I'm happy to report that most of the crud came off but it seemed to have 'stained' whatever it touched. After a soak in PBW, BLC, and Starsan, I hooked everything back up. It's nice having clean beer lines!
Looks like rain is in the forecast for the next several days so hopefully my first brew session in 1/2 a year will be next week sometime. I'll be in TX the majority of the week afterwards so I'd at least like to be around for the first several days during primary.
New Brew Club, Free Photo hosting, Yeast Library, Forum
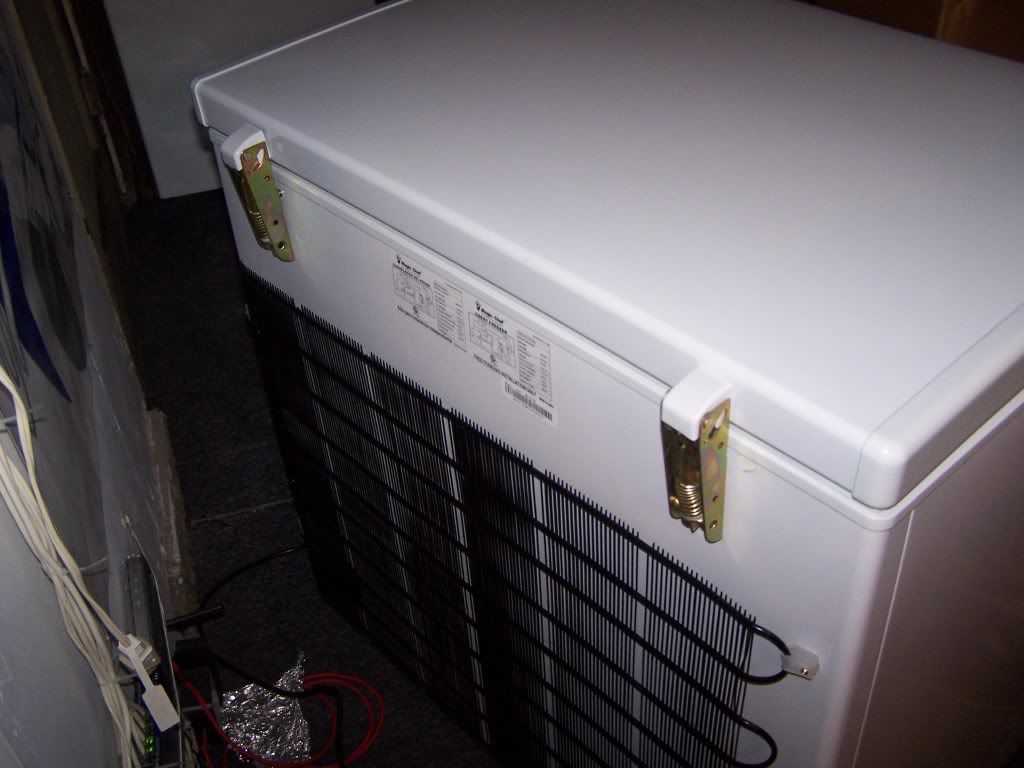
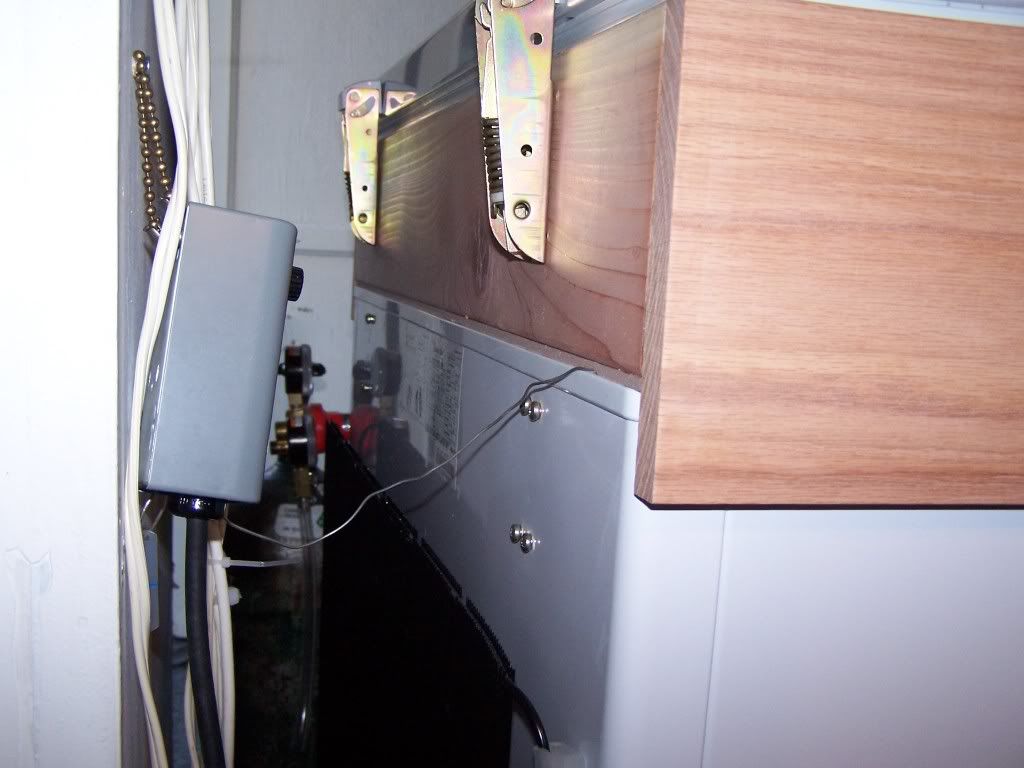
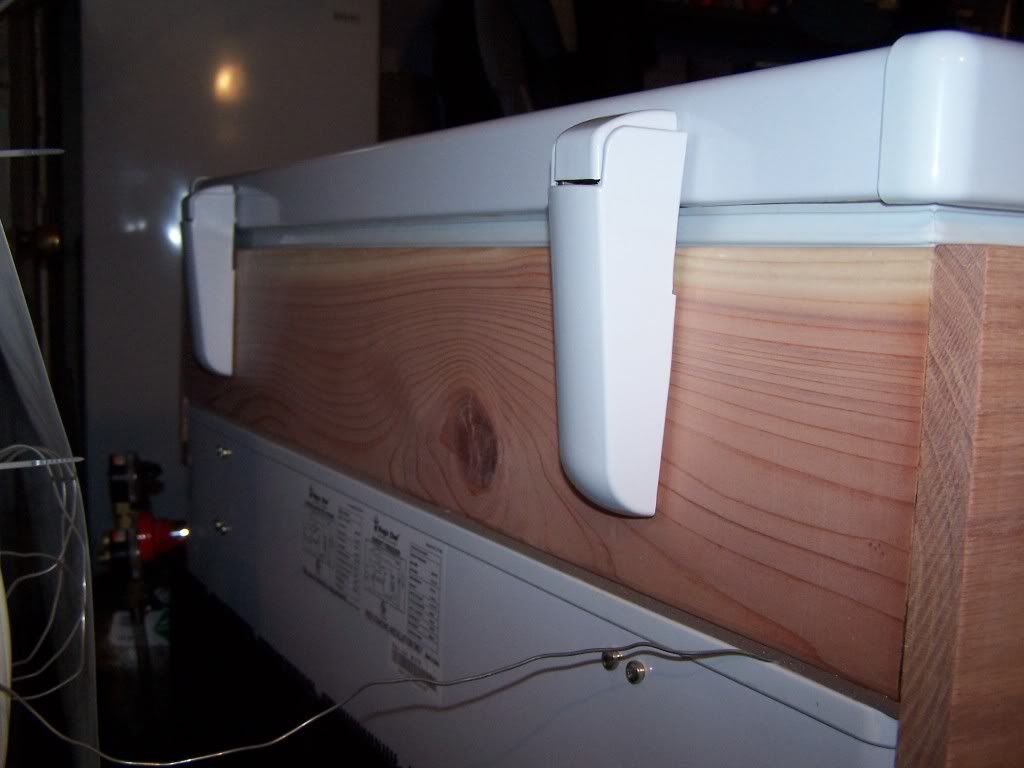
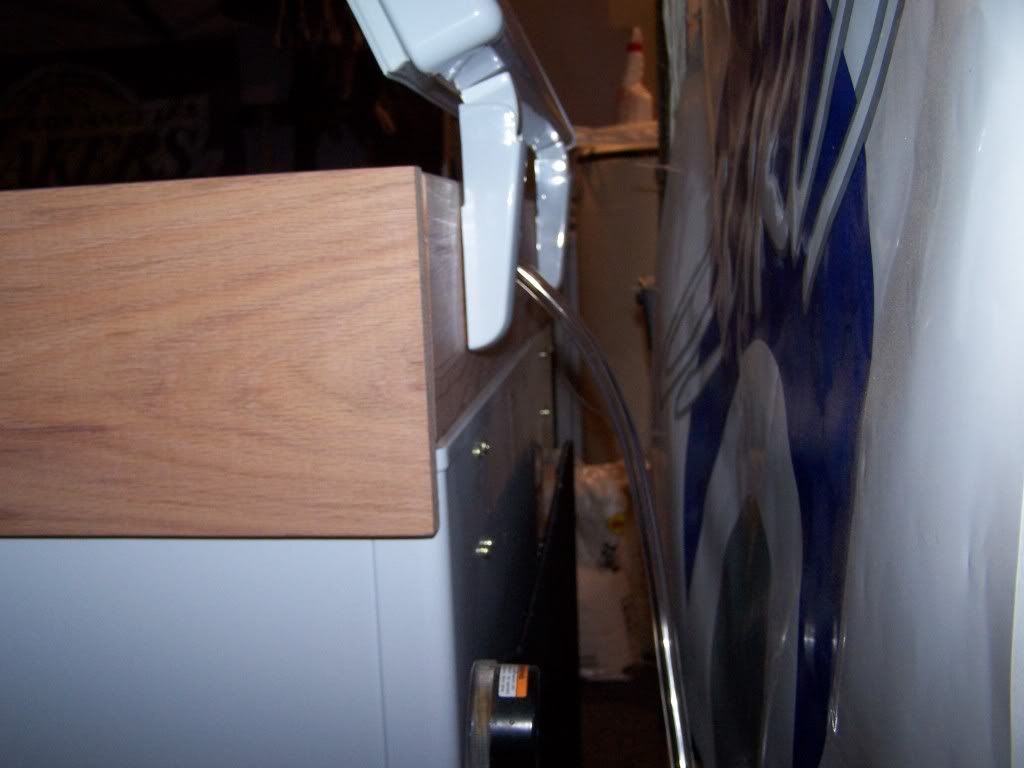
I was reading a post about a gut who was switching to kegs and you showed some great pictures of a freezer kegerator that you made from a freezer you got from home depot. I am very interested in making this same set up. Would you be willing to take one more picture from the back and post it. I am not sure how your were able to move the lid up without moving the brackets up on the wood frame, which I am assuming you did. If this was done, what did you do with the holes in the freezer from wherethe brackets originally were.
Sorry to crash your question about his beer lines, but I did not see a way to email you or contact you any other way. hope you dont mind. any sugestions on the kegerator would be helpful. Thanks.
Sure thing - its kinda late and really cold in the garage so I'll do it wheni get home from work tomorrow. Once you see the pics you'll see how easy it is. You just remove the hinges from bottom part of the freezer and attack it to the collar.
you can email me at rezzin at socal dot rr dot com if you need to 'pm' me.
New Brew Club, Free Photo hosting, Yeast Library, Forum


 Become a Brewer's Hardware Fan on Facebook!